Overall Skin Color Mixing
Mixing Skin tones
Mixing skin tones for painting can be achieved through the use of a limited color palette, such as the primary colors (red, yellow, and blue) and a few additional colors. Here is one way to mix skin tones using a limited palette:
- Begin by mixing together equal parts of cadmium red, yellow ochre, and titanium white to create a basic peach tone.
- Adjust the color by adding more red to create warmer skin tones, or more yellow to create cooler skin tones.
- To create darker skin tones, mix in a small amount of ultramarine blue or burnt sienna.
- To create lighter skin tones, add more white to the mixture.
- Experiment with different ratios and combinations of these colors to create a range of skin tones.
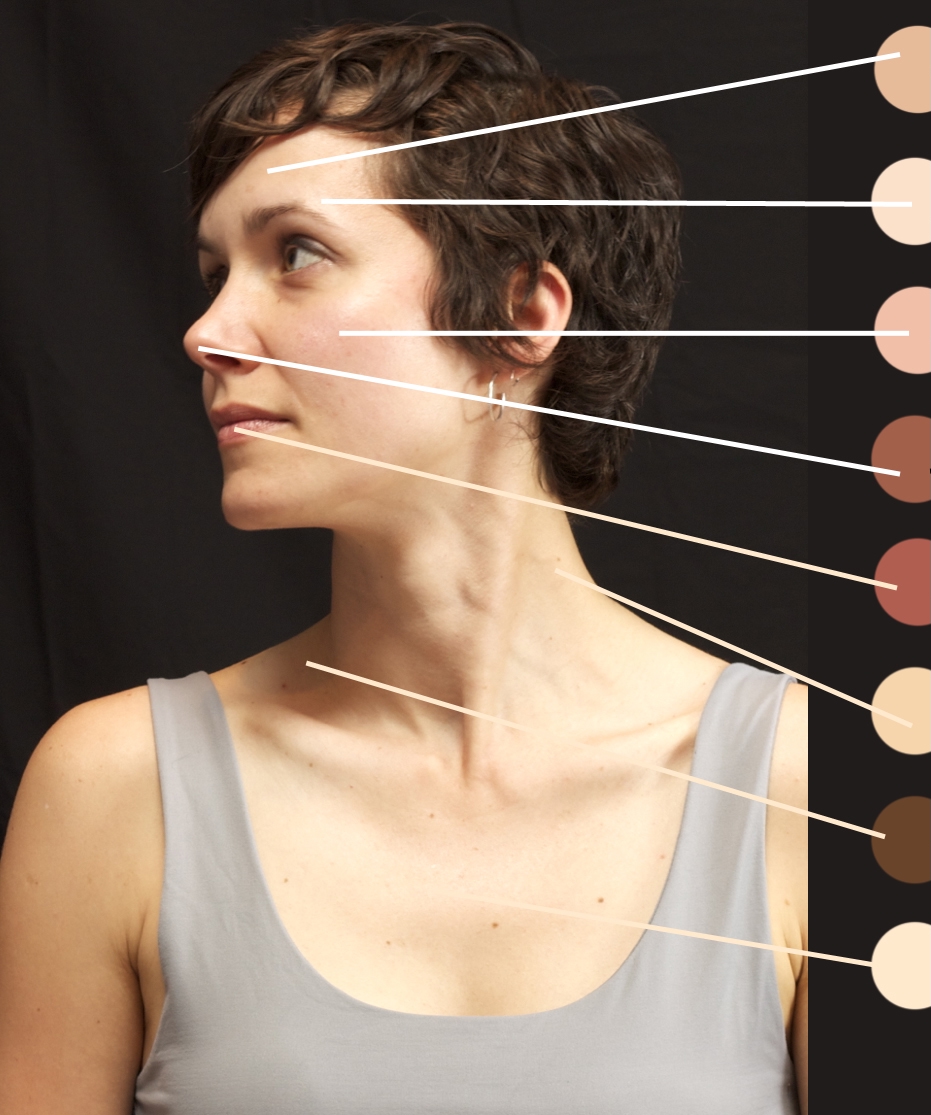
It’s important to remember that skin tones can vary greatly, so it may take some practice to get the right mix for your particular subject. It may also be helpful to have a reference image to work from.
Using Burnt Sienna as a base color:
To mix skin tones using burnt sienna as the base color, you can follow these steps:
- Start by mixing a small amount of burnt sienna with white to create a light flesh tone. This will be your base color.
- To create a medium flesh tone, mix in a small amount of cadmium yellow medium or cadmium red to the base color.
- To create a darker flesh tone, mix in a small amount of ultramarine blue or purple to the base color.
- To create highlights, mix in more white to the base color. To create shadows, mix in more burnt sienna or a small amount of black.
- Adjust the colors as needed until you achieve the desired skin tone. Remember to start with a small amount of color and gradually add more until you get the desired shade.
It’s a good idea to make a small sample of the skin tone before you start painting, so you can see how the color looks and make any necessary adjustments. You can also refer to photographs or live models to get an idea of the natural skin tones and how they are affected by light and shadow.
To mix skin tones for highlights:
To create highlights when painting skin tones, you can mix in white or a pale version of the base skin tone.
To create a more subtle highlight, you can mix a small amount of white into the base skin tone. This will give the highlight a slightly lighter and more transparent quality.
To create a more pronounced highlight, you can mix a larger amount of white into the base skin tone. This will give the highlight a brighter and more opaque quality.
You can also mix in other colors to create different effects. For example, you can mix in a small amount of yellow or pink to create a warmer highlight, or you can mix in a small amount of blue or purple to create a cooler highlight.
Remember to blend the highlight smoothly into the surrounding skin, and to pay attention to the way the light falls on the skin to create a realistic effect. It’s a good idea to start with a small amount of color and gradually add more until you achieve the desired highlight. You can also refer to photographs or live models to get an idea of the natural skin tones and how they are affected by light and shadow.
To mix skin tones for shadows, you can follow these steps:
- Begin with the base skin tone that you have already mixed. This will typically be a blend of red, yellow, and white.
- To create a shadowed area, you will need to add a darker color to the base skin tone. One option is to mix in a small amount of ultramarine blue or burnt sienna.
- Adjust the darkness of the shadow by adding more of the darker color or by adding black. Be sure to add the darker color gradually and mix it well to avoid creating a harsh, unnatural-looking shadow.
- Test the shadow color on a separate palette or piece of paper before applying it to your artwork to ensure that it is the desired shade.
- When applying the shadow color to your artwork, use a thin, flat brush to create a smooth, even layer. Blend the edges of the shadow with the surrounding skin tone to create a seamless transition.
Remember to consider the direction of the light source and the natural contours of the face when placing shadows, as this will help to create a more realistic and three-dimensional effect.
Are skin tones gray in the shadows?
Skin tones are generally not gray in shadows when painting. While shadows can often appear gray in photographs, in reality they are often a much warmer color, especially when the light source is sunlight.
The color of shadows on skin can vary depending on the color of the light source and the skin tone of the subject. Shadows on pale skin may appear bluish or violet, while shadows on darker skin may appear brown or reddish.
To create the illusion of realistic shadows on skin, you should use colors that are slightly cooler than the base skin tone and blend them smoothly into the surrounding skin. You can also use a small amount of the complementary color of the base skin tone to create contrast and add depth to the shadow areas.
It’s a good idea to refer to photographs or live models to get an idea of the natural skin tones and how they are affected by light and shadow. This will help you to create a more realistic and convincing painting.